
Premium Windsock for Paragliding, Hang Gliding, & Skydiving
made by Marilyn
Price includes FREE shipping to continental U.S. addresses
- $59 standard windsock
- $73 skydiving windsock with a 24" white tail
For shipping outside the continental U. S., place your order and we will contact you with the shipping cost. Harmonized Tariff Schedule (HST) code for this item: 9503.00
Be SURE to read the setup instructions below for important information for using the sock correctly.
PLEASE READ BEFORE PURCHASE: Our windsocks are designed for temporary, intermittent use only. They are not designed to be permanently left outside and exposed to sunlight, wind, and inclement weather. This type of use will significantly shorten the windsock's life.
Features
- Made from 40D nylon ripstop fabric, orange color may vary from the photos below.
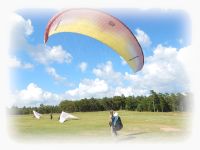
- Ultra sensitive to wind speed and direction – when setup according to our instructions, it will start to move and indicate direction and speed with winds less than 1 MPH.
- Visibility of (1) mile or more – pilots and skydivers can safely setup for landing much further away than with ordinary windsocks, especially at dusk.
- Sock opening is reinforced with a sewn-in piece of polyethylene tubing that keeps the round shape of the sock.
- Overall length approximately 15'.
- Typical life depends entirely on usage. The windsock will have maximum life if is taken down and stowed right after flying (or skydiving). It must never be left out in the rain nor exposed to winds over 25 mph for an extended time. Do NOT stow a damp or wet sock.
- Hand crafted by Marilyn in the U.S.A. at our shop.
- How much is your flying safety worth? That is why we designed this windsock with these unique features.
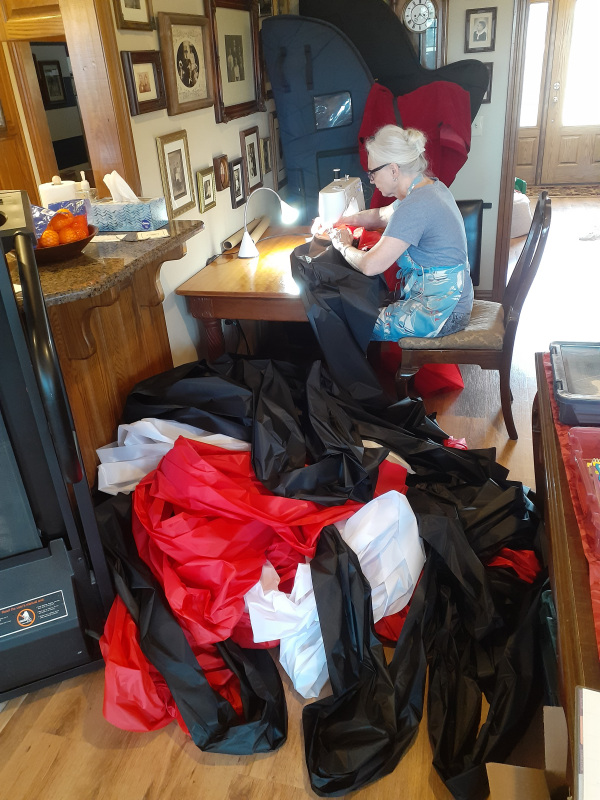
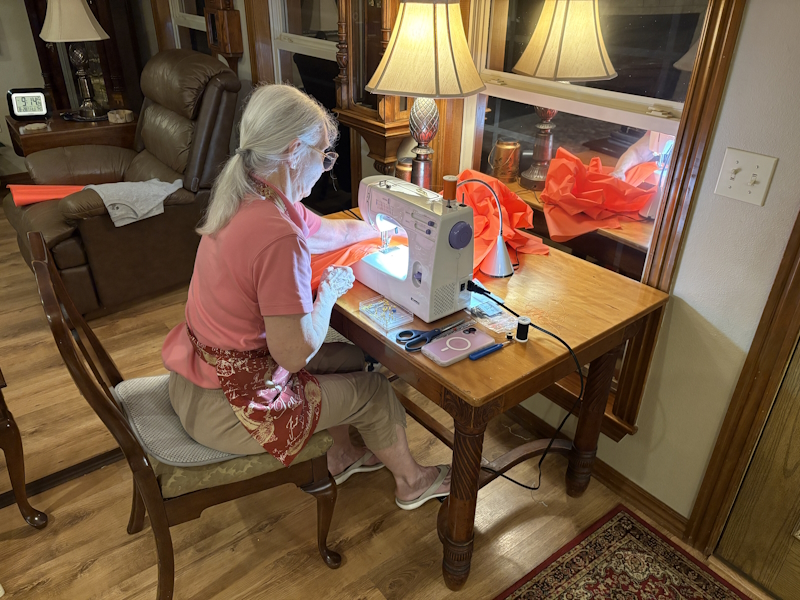
Marilyn working in her shop on a 1,000' streamer for an air show. She has assisted in the training of pilots for over 18 years and also understands that setting-up to land as far away as possible is important to pilots and skydivers.
Accessories needed for the windsock
The Crappie (Pan) fishing pole must have the thinnest sections possible so that the sock will move in the slightest breeze but not touch the pole or ground. The DIY options below feature Cabelas' light duty poles. Do not use a heavy duty Crappie pole because the sock will not function correctly in light air. Warning: it is important that the pole assembly fall over if struck! Option #1 has more parts but our experience is that it is better over the long haul.
The windsock should be 20' above the ground so it will not touch anything.
Option #1
-
16' 6" Crappie fishing pole
– attach a piece of split tubing about 1' up from the base
with nylon zip ties (see this photo). Remove the base cap at the bottom of the pole and seal it with
duct tape.
-
1 1/2" PVC
schedule 40 pipe – cut to 6' will fit most pickup beds. The longer the better.
-
3/4 x 3' steel stake – any piece of
steel, a piece of rebar, at least 3' long may be used.
Option #2
- 20' Crappie fishing pole
- 2" x 3' PVC schedule 40 pipe – can be cut to length. Home Depot stocks 2' pieces of 2" PVC pipe but this is too short.
- 3/4 x 3' steel stake – any piece of steel, a piece of rebar, at least 3' long may be used.
The Crappie Pole will lean over with this option but it does not matter.
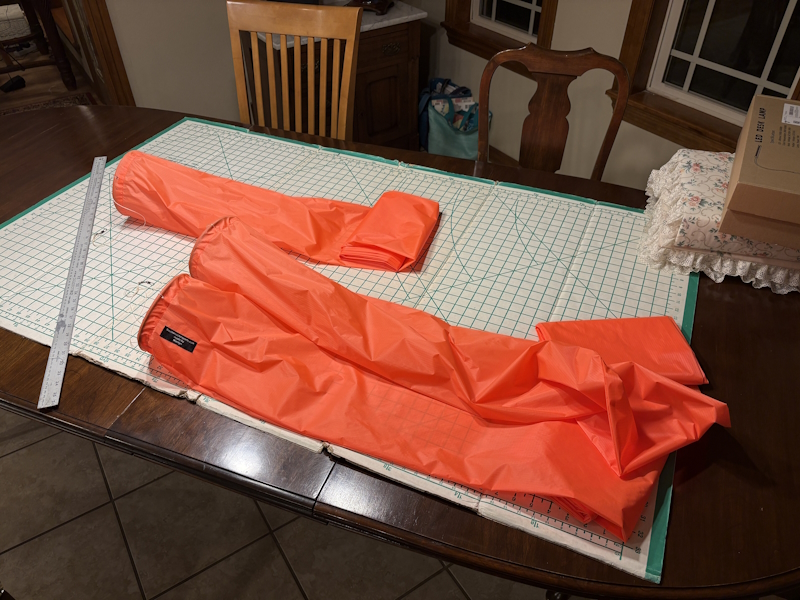
Our handcrafted socks ready to ship
Skydiving windsocks
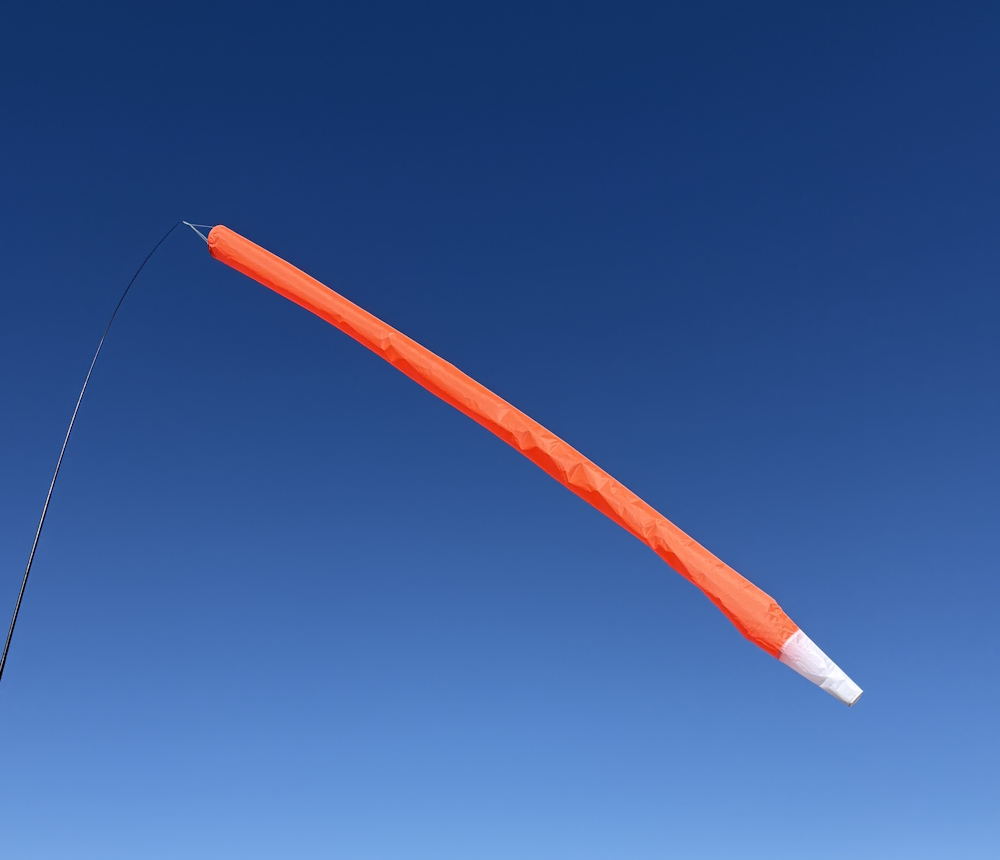
Our skydiving windsock option has a 24" white tail attached to its end. (Note: This photo is an early model with a 12" white tail.) As skydiving instructors have noted, the white tail will help newer skydivers determine wind direction in the DZ from altitude. It is a safety improvement.
Repairs
1. Tip repairs
The Crappie pole is delicate and is usually the first part to break from rough handling. If the end tip of the pole breaks off, use heat from a flame e.g., a candle, to remove the broken piece of pole from the tip. The last few inches of the pole are not tapered but if the pole end is broken off more than a few inches, you may have to taper the end to fit the tip with a file or a Dremel grinder. Attach the tip with nail polish or 5-minute epoxy cement. Yours truly has broken the tip off and reattached it successfully more than once.
For replacement tips, search on eBay for "Rod Tips for building or replacement of Ice Fishing or Fly Rods". The Size needed for the 16' 6" pole is a size #6 2.4mm (the diameter of the rod tip).
2. Fabric repair
Tears in the fabric can be easily repaired (to stop fraying) by a few drops of Super-Glue.
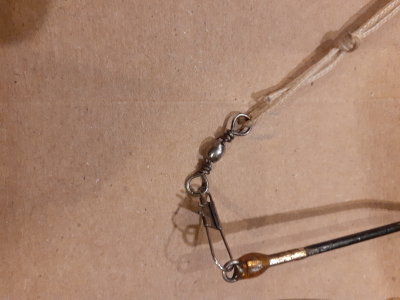
3. Swivel replacement
The fishing line swivel can be easily replaced without cutting the supporting lines that go to the sock opening.
4. Pole section repair
Sometimes the ends of the telescoped pieces of the pole can become weak, worn out, or split so that the sections easily pull out. Here is how to repair the pole better than new: Disassemble the pole and remove the bad section first. Take some UNWAXED dental floss and tightly wrap it a few dozen times around the end of the weaker or split section. Then soak the floss with Super-Glue. Let the repaired section cure at least 6 hours. It is a permanent fix.
NO Warranty
This is no warranty for our windsocks because we have no control over how or where they are used. Nonetheless, you may always contact us if you have any questions or comments.
THIS IS NOT A PERMANENT WINDSOCK – TAKE IT DOWN AFTER DAILY USE !
Setup instructions
- YOUR NEW WINDSOCK NEEDS TO BE BROKEN IN. The sock is shipped folded to conserve space and the folding prevents the complete opening of the sock. To "loosen up" the sock when new, stuff it in a bag or just stuff it wherever it is. After the sock has been used a few times, it will completely inflate.
- In order to work properly, the windsock should be suspended above the ground at least 20'. If a lesser distance is used, the Crappie pole will bend over and the sock will touch the ground, brush, or tall grass and give a false velocity and direction, especially if seen from far away.
- Always extend the Crappie pole carefully. Do NOT extend the sections with force! They should be just snug for long life.
- Windsock assembly should be clear of obstacles for a radius of at least 20' or the sock may get tangled and
give a false speed and direction.
- Locate the windsock as close as possible to the middle of the LZ or DZ. Putting it near any tall object will defeat the purpose of this ultra-sensitive anemometer.
- If you have a lot of traffic or the area is subject to light and variable winds, place multiple windsocks near the corners of the LZ
or DZ.
- Do not store the windsock in the sun or in a moist environment.
- Do not leave the steel stake in the ground. It will become an invisible hazard in the LZ or DZ!
- When extending the Crappie Pole to full length, pull on the telescoping sections gently. If the sections
are not firm, the pole may later collapse. If you pull too hard on the sections, they may come right out or break. If they come
out you will have to disassemble the pole. To help stop this in the future, see the pole repair section.
- When putting the windsock away, take the Crappie pole out of the PVC pipe before collapsing it. Keeping the pole vertical, firmly rest the butt of the pole on the ground. Starting at the lowest section, slightly twist the opposing sections and let them slide into the pole base. REMEMBER: THE WALLS OF THE POLE ARE DELICATE. NEVER LET ANYONE JAMB THE POLE SECTIONS TOGETHER. This is the surest way to ruin the Crappie pole.
- Most have little idea how to setup a Crappie pole and, too often, will break it. Have ONLY knowledgeable people setup and dismantle your pole. It is fragile!
- DO NOT FOLD THE WINDSOCK – IT NEEDS TO BE "MESSY" IN ORDER TO WORK PROPERLY. DO NOT PUT AWAY DAMP!
- We suggest that you put your name and phone number with a permanent marker near the tail on your sock. It will help if it becomes lost or missing.
Marilyn working away at night on her sewing machine fulfilling backorders. Made in America by an American.
How the windsock functions
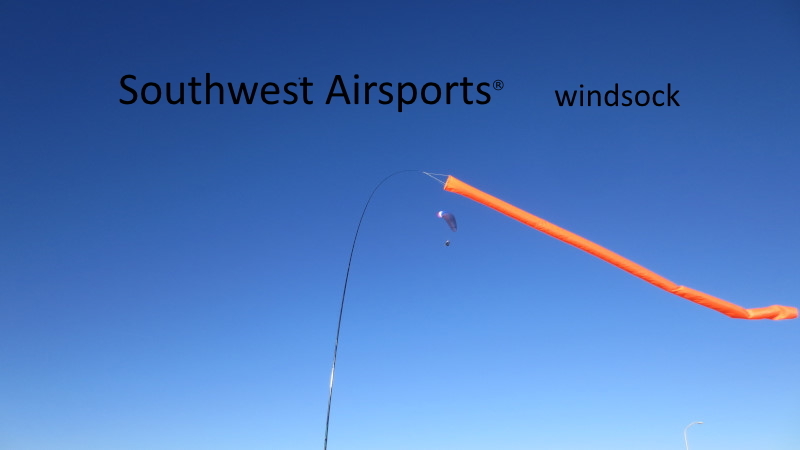
The Southwest Airsports windsock is ultra sensitive to the slightest breeze. The thin Crappie pole bends slightly from the weight of the sock. This ensures that the sock is always hanging and not touching the pole or ground.
Testimonial from a hang glider pilot,
I'm a HG and flew the Guads over President's day with some folks from CO who had one of your windsocks. I noticed how easy it was to see from the air and what a good wind speed indicator it was. Looks like a really good product!
Another comment when demand exceeded supply. It happens often, especially during high-season.
Yes, I will wait. I really want one. I flew the other day and another guy had your windsock. It is worth the wait.
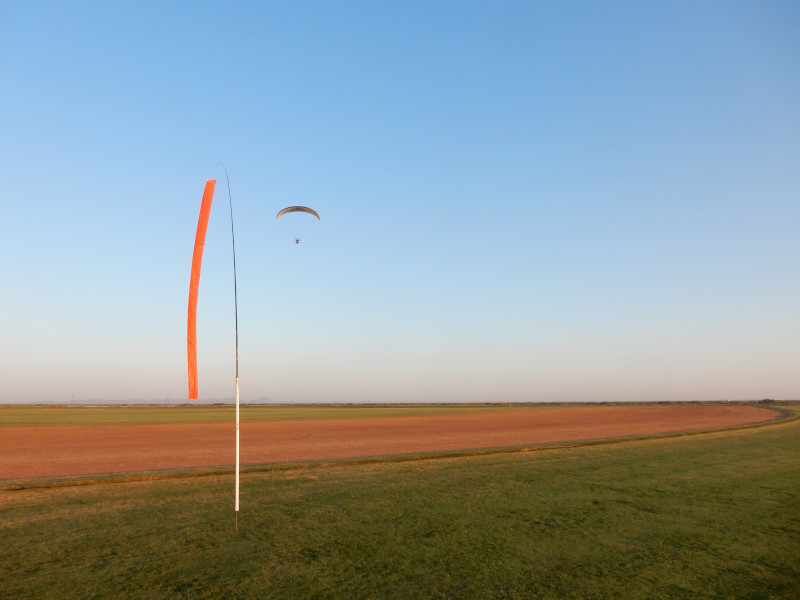
In the photo below, it shows a wind speed of about 2-3 MPH. Landing into the wind vs. landing downwind for a paraglider would result in a 6 mph difference in ground speed which would be 18 MPH vs. 24 MPH. As the winds increase the difference gets much greater. A 10 MPH wind yields a difference of 20 MPH between landing into the wind and landing downwind. This is something to think about....
No other type of windsock can provide the information that pilots and skydivers need when a mile away that allows the best possible setup information for a comfortable landing with minimum ground speed. This is especially important for hang gliding and skydiving where setting up as far away as possible is not only a matter of comfort but also of safety.
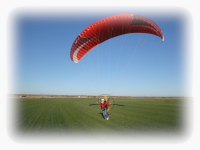
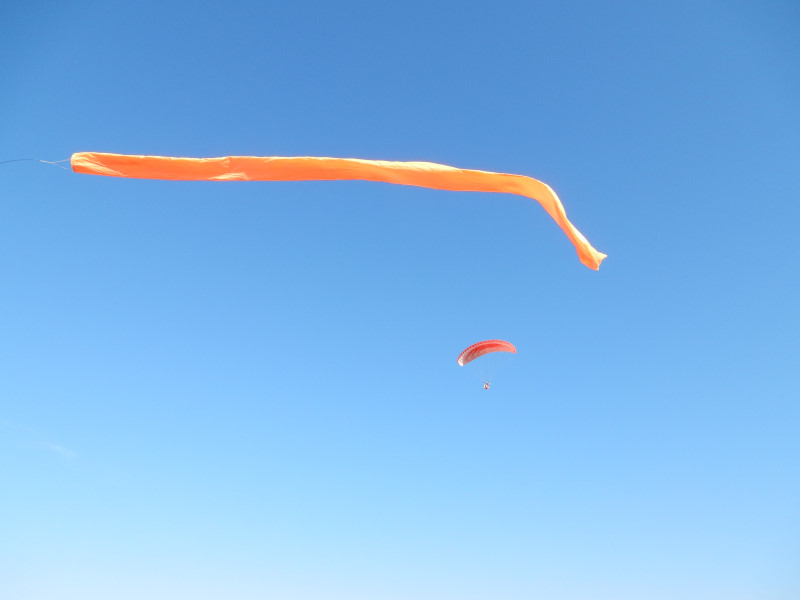
If the winds increase, the windsock will clearly indicate the speed. In the photo below, winds are approximately 12 mph and the windsock is flapping and making noise. As winds increase, the sock will straighten out completely and make more noise and become "angry". It takes time for pilots to get to know the windsock and gauge the wind speed and direction accurately.
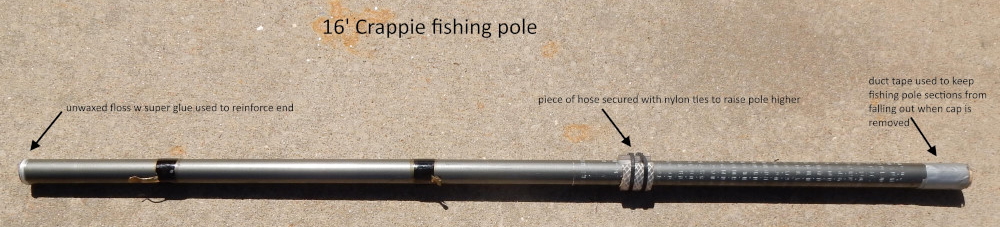
The 16' 6" Crappie pole (Option #1) should have the modifications done per the photo below. The left end of the pole has unwaxed floss wound around the opening about (20) times and then saturated with Super-Glue. Over time, continual use of the pole may cause a crack at its end which is prevented/repaired with floss and Super-Glue.
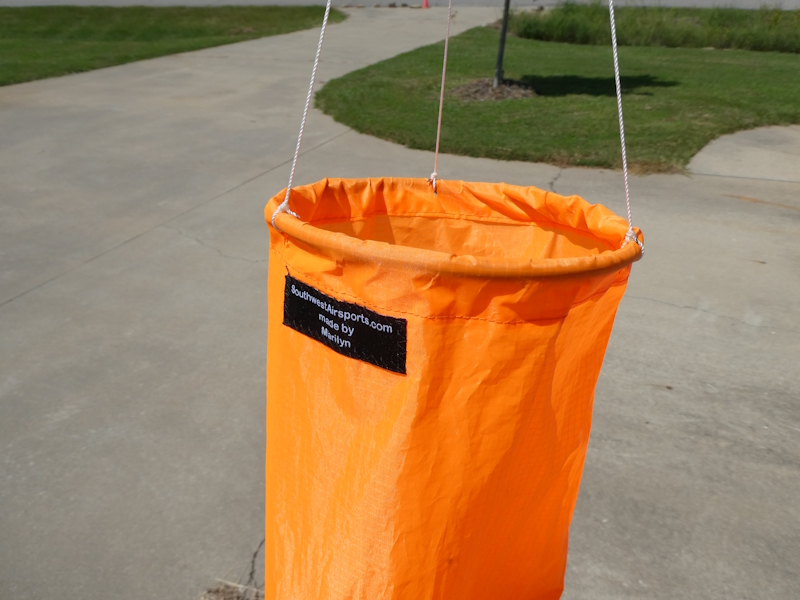
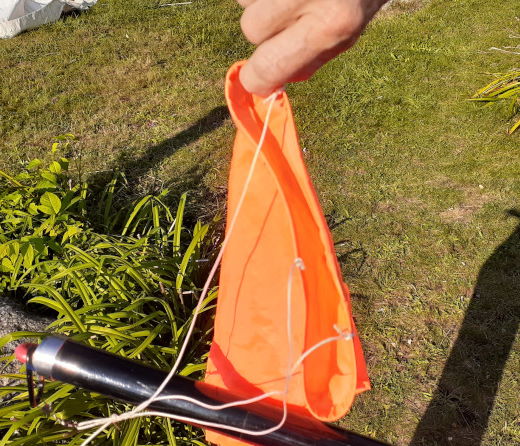
Marilyn's reinforced sock opening – this and the rip-stop tent fabric are the most important differences between her windsock and all others. The tubing used to reinforce the opening is heavy-duty and can be bent or crushed. It will recover its natural shape if left in a warm place for a while.
Below is a photo of the flimsy reinforcing material found in Chinese imports. The material is flat so that the sock and reinforcing loop can be sewn at the same time. While this makes the sock at least 4X faster to make, the sock opening will collapse after a short time, usually a few weeks of occasional use. The sock then becomes a flat streamer that may be less visible, depending on the pilot's angle of vision to the sock. The sock loses its ability to precisely show wind speed.

Here is a typical imported windsock and what happens after a short time – and why we started making the Southwest Airsports windsock.
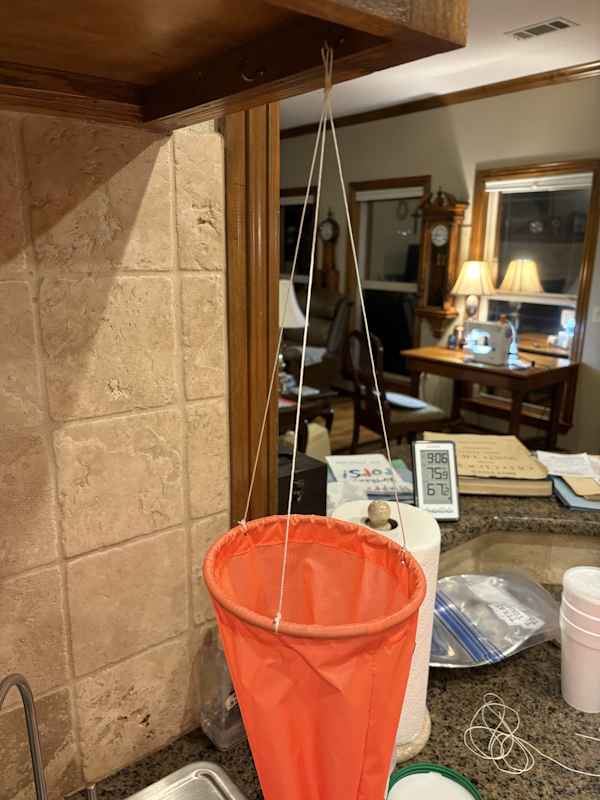
Windsock hanging so that the line attachments will cure properly.
Your best buy is Marilyn's premium windsock. Order one today to improve safety!
![]()

